📚 文章 (
📝
字数:
1.1k
⏱
阅读时间:
5 分钟
)
首先在腾讯云购买三台服务器,一台Master和两台Node,需要在同一个vpc下。

按每台机器的角色分别设置hostname。
1
2
3
4
| # 每个节点分别设置对应主机名
hostnamectl set-hostname master
hostnamectl set-hostname node1
hostnamectl set-hostname node21
|
所有节点都要设置hostname。
1
2
3
4
| vim /etc/hosts
10.0.1.144 master
10.0.1.95 node1
10.0.1.50 node2
|
在所有节点添加源。
1
2
3
4
5
6
7
8
9
10
11
12
13
14
| # 添加 k8s 安装源
cat <<EOF > kubernetes.repo
[kubernetes]
name=Kubernetes
baseurl=https://mirrors.aliyun.com/kubernetes/yum/repos/kubernetes-el7-x86_64
enabled=1
gpgcheck=0
repo_gpgcheck=0
gpgkey=https://mirrors.aliyun.com/kubernetes/yum/doc/yum-key.gpg https://mirrors.aliyun.com/kubernetes/yum/doc/rpm-package-key.gpg
EOF
mv kubernetes.repo /etc/yum.repos.d/
# 添加 Docker 安装源
yum-config-manager --add-repo http://mirrors.aliyun.com/docker-ce/linux/centos/docker-ce.repo
|
安装所需要组件。
1
| yum install -y kubelet-1.22.4 kubectl-1.22.4 kubeadm-1.22.4 docker-ce
|
启动kubelet、docker。
1
2
3
4
| systemctl enable kubelet
systemctl start kubelet
systemctl enable docker
systemctl start docker
|
添加docker源。
1
2
3
4
5
6
7
8
9
10
11
| cat <<EOF > daemon.json
{
"exec-opts": ["native.cgroupdriver=systemd"],
"registry-mirrors": ["https://ud6340vz.mirror.aliyuncs.com"]
}
EOF
mv daemon.json /etc/docker/
# 重启生效
systemctl daemon-reload
systemctl restart docker
|
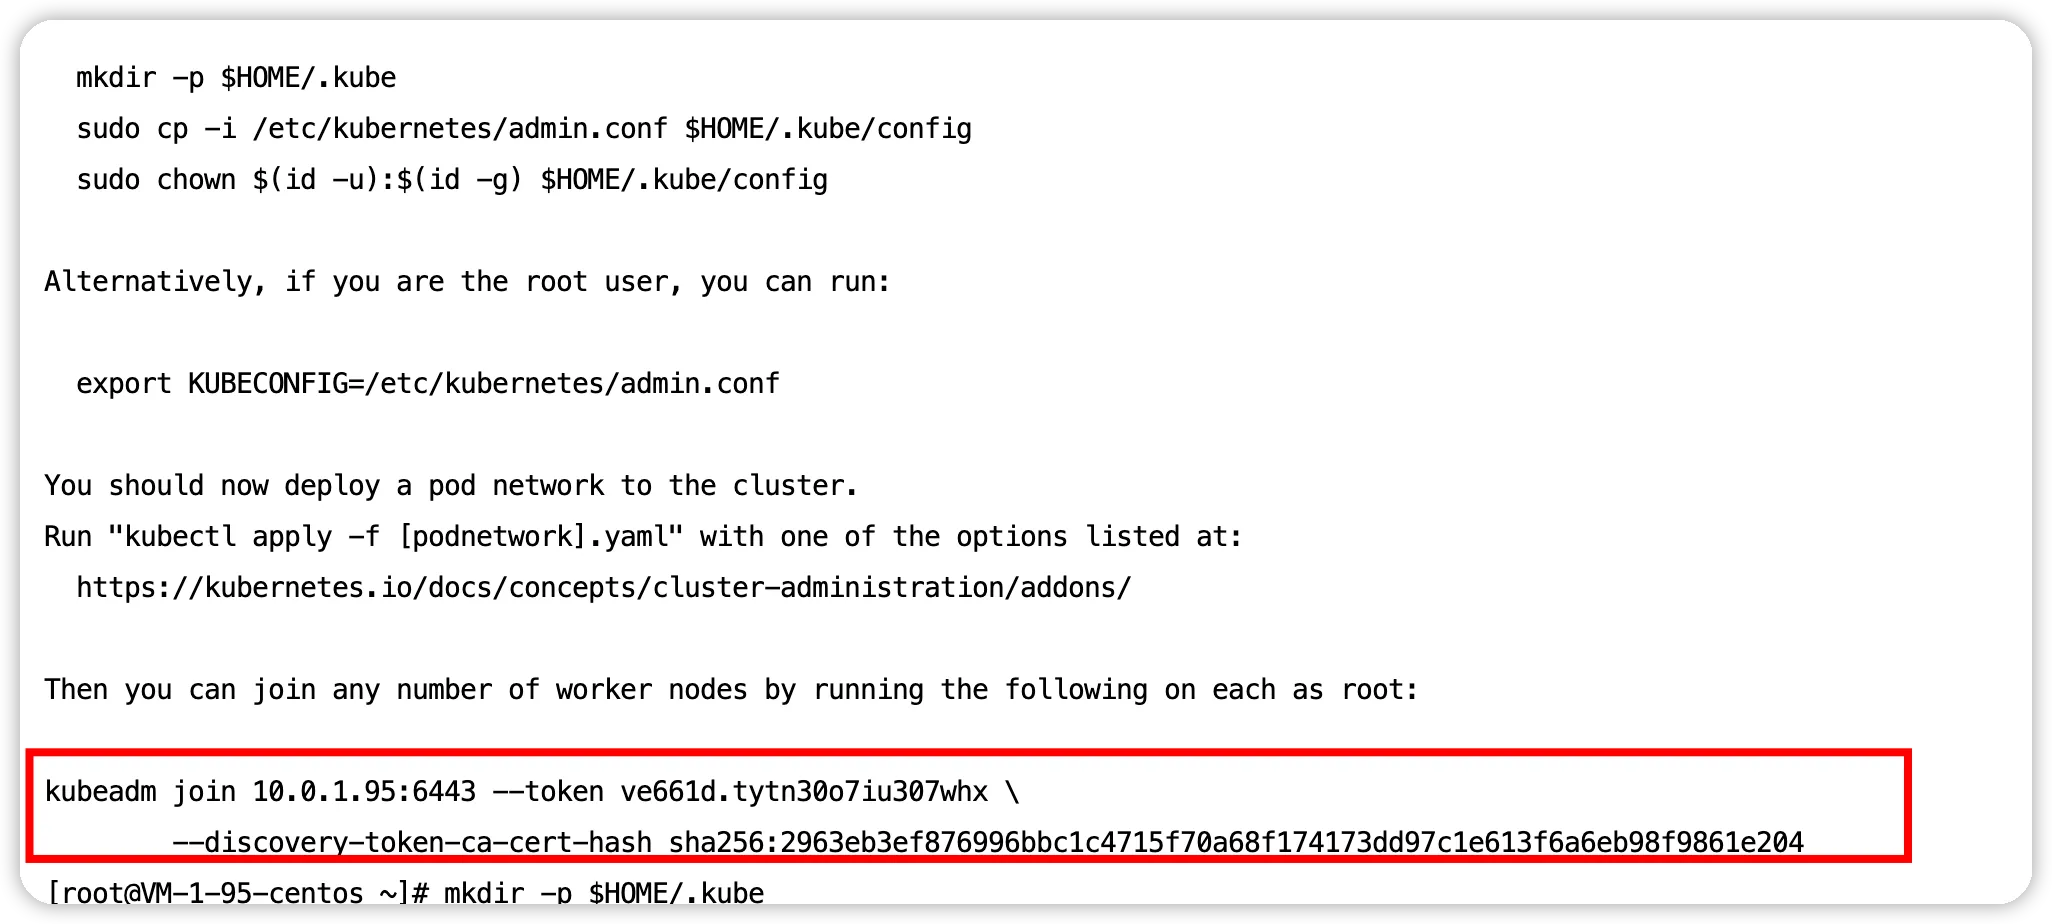
通过kubeadm初始化集群。
1
2
3
4
5
6
7
8
9
10
11
12
13
14
| # 初始化集群控制台 Control plane
# 失败了可以用 kubeadm reset 重置
kubeadm init --image-repository=registry.aliyuncs.com/google_containers
# 记得把 kubeadm join xxx 保存起来
# 忘记了重新获取:kubeadm token create --print-join-command
# 复制授权文件,以便 kubectl 可以有权限访问集群
# 如果你其他节点需要访问集群,需要从主节点复制这个文件过去其他节点
mkdir -p $HOME/.kube
cp -i /etc/kubernetes/admin.conf $HOME/.kube/config
chown $(id -u):$(id -g) $HOME/.kube/config
# 在其他机器上创建 ~/.kube/config 文件也能通过 kubectl 访问到集群
|
把所有工作节点加入集群。
1
| kubeadm join 172.16.32.10:6443 --token xxx --discovery-token-ca-cert-hash xxx
|
 2
2
安装网络插件,否则 node 是 NotReady 状态(主节点跑)
1
2
3
4
5
6
7
8
9
| # 很有可能国内网络访问不到这个资源,你可以网上找找国内的源安装 flannel
kubectl apply -f https://raw.githubusercontent.com/coreos/flannel/master/Documentation/kube-flannel.yml
# 如果上面的插件安装失败,可以选用 Weave,下面的命令二选一就可以了。
kubectl apply -f https://github.com/weaveworks/weave/releases/download/v2.8.1/weave-daemonset-k8s.yaml
kubectl apply -f http://static.corecore.cn/weave.v2.8.1.yaml
# 更多其他网路插件查看下面介绍,自行网上找 yaml 安装
https://blog.csdn.net/ChaITSimpleLove/article/details/117809007
|
创建Deployment.yaml,并应用 “kubectl apply -f Deployment.yaml”。
1
2
3
4
5
6
7
8
9
10
11
12
13
14
15
16
17
18
19
20
21
| apiVersion: apps/v1
kind: Deployment
metadata:
# 部署名字
name: test-k8s
spec:
replicas: 20
# 用来查找关联的 Pod,所有标签都匹配才行
selector:
matchLabels:
app: test-k8s
# 定义 Pod 相关数据
template:
metadata:
labels:
app: test-k8s
spec:
# 定义容器,可以多个
containers:
- name: test-k8s # 容器名字
image: ccr.ccs.tencentyun.com/k8s-tutorial/test-k8s:v1 # 镜像
|
查看pod跑在哪些Node上。
1
2
3
4
5
6
7
8
9
10
11
12
13
14
15
16
17
18
19
20
21
22
| kubectl get pods -o wide
NAME READY STATUS RESTARTS AGE IP NODE NOMINATED NODE READINESS GATES
test-k8s-68bb74d654-2n72g 0/1 ContainerCreating 0 63s <none> node1 <none> <none>
test-k8s-68bb74d654-52fkq 0/1 ContainerCreating 0 63s <none> node2 <none> <none>
test-k8s-68bb74d654-75fgh 0/1 ContainerCreating 0 63s <none> node1 <none> <none>
test-k8s-68bb74d654-7766l 0/1 ContainerCreating 0 63s <none> node2 <none> <none>
test-k8s-68bb74d654-ccmfq 0/1 ContainerCreating 0 63s <none> node1 <none> <none>
test-k8s-68bb74d654-cpdqf 0/1 ContainerCreating 0 63s <none> node1 <none> <none>
test-k8s-68bb74d654-d45qw 0/1 ContainerCreating 0 63s <none> node1 <none> <none>
test-k8s-68bb74d654-dp6ml 0/1 ContainerCreating 0 63s <none> node2 <none> <none>
test-k8s-68bb74d654-fpfxg 0/1 ContainerCreating 0 63s <none> node2 <none> <none>
test-k8s-68bb74d654-g7j8w 0/1 ContainerCreating 0 63s <none> node2 <none> <none>
test-k8s-68bb74d654-m8ph5 0/1 ContainerCreating 0 63s <none> node2 <none> <none>
test-k8s-68bb74d654-n5bvq 0/1 ContainerCreating 0 63s <none> node2 <none> <none>
test-k8s-68bb74d654-ncm4h 0/1 ContainerCreating 0 63s <none> node2 <none> <none>
test-k8s-68bb74d654-qvtjs 0/1 ContainerCreating 0 63s <none> node1 <none> <none>
test-k8s-68bb74d654-rhp48 0/1 ContainerCreating 0 63s <none> node1 <none> <none>
test-k8s-68bb74d654-shzsm 0/1 ContainerCreating 0 63s <none> node1 <none> <none>
test-k8s-68bb74d654-szfpl 0/1 ContainerCreating 0 63s <none> node1 <none> <none>
test-k8s-68bb74d654-tzpdd 0/1 ContainerCreating 0 63s <none> node2 <none> <none>
test-k8s-68bb74d654-z76sz 0/1 ContainerCreating 0 63s <none> node2 <none> <none>
test-k8s-68bb74d654-z8gpt 0/1 ContainerCreating 0 63s <none> node2 <none> <none>
|